

The body content of your post goes here. To edit this text, click on it and delete this default text and start typing your own or paste your own from a different source.
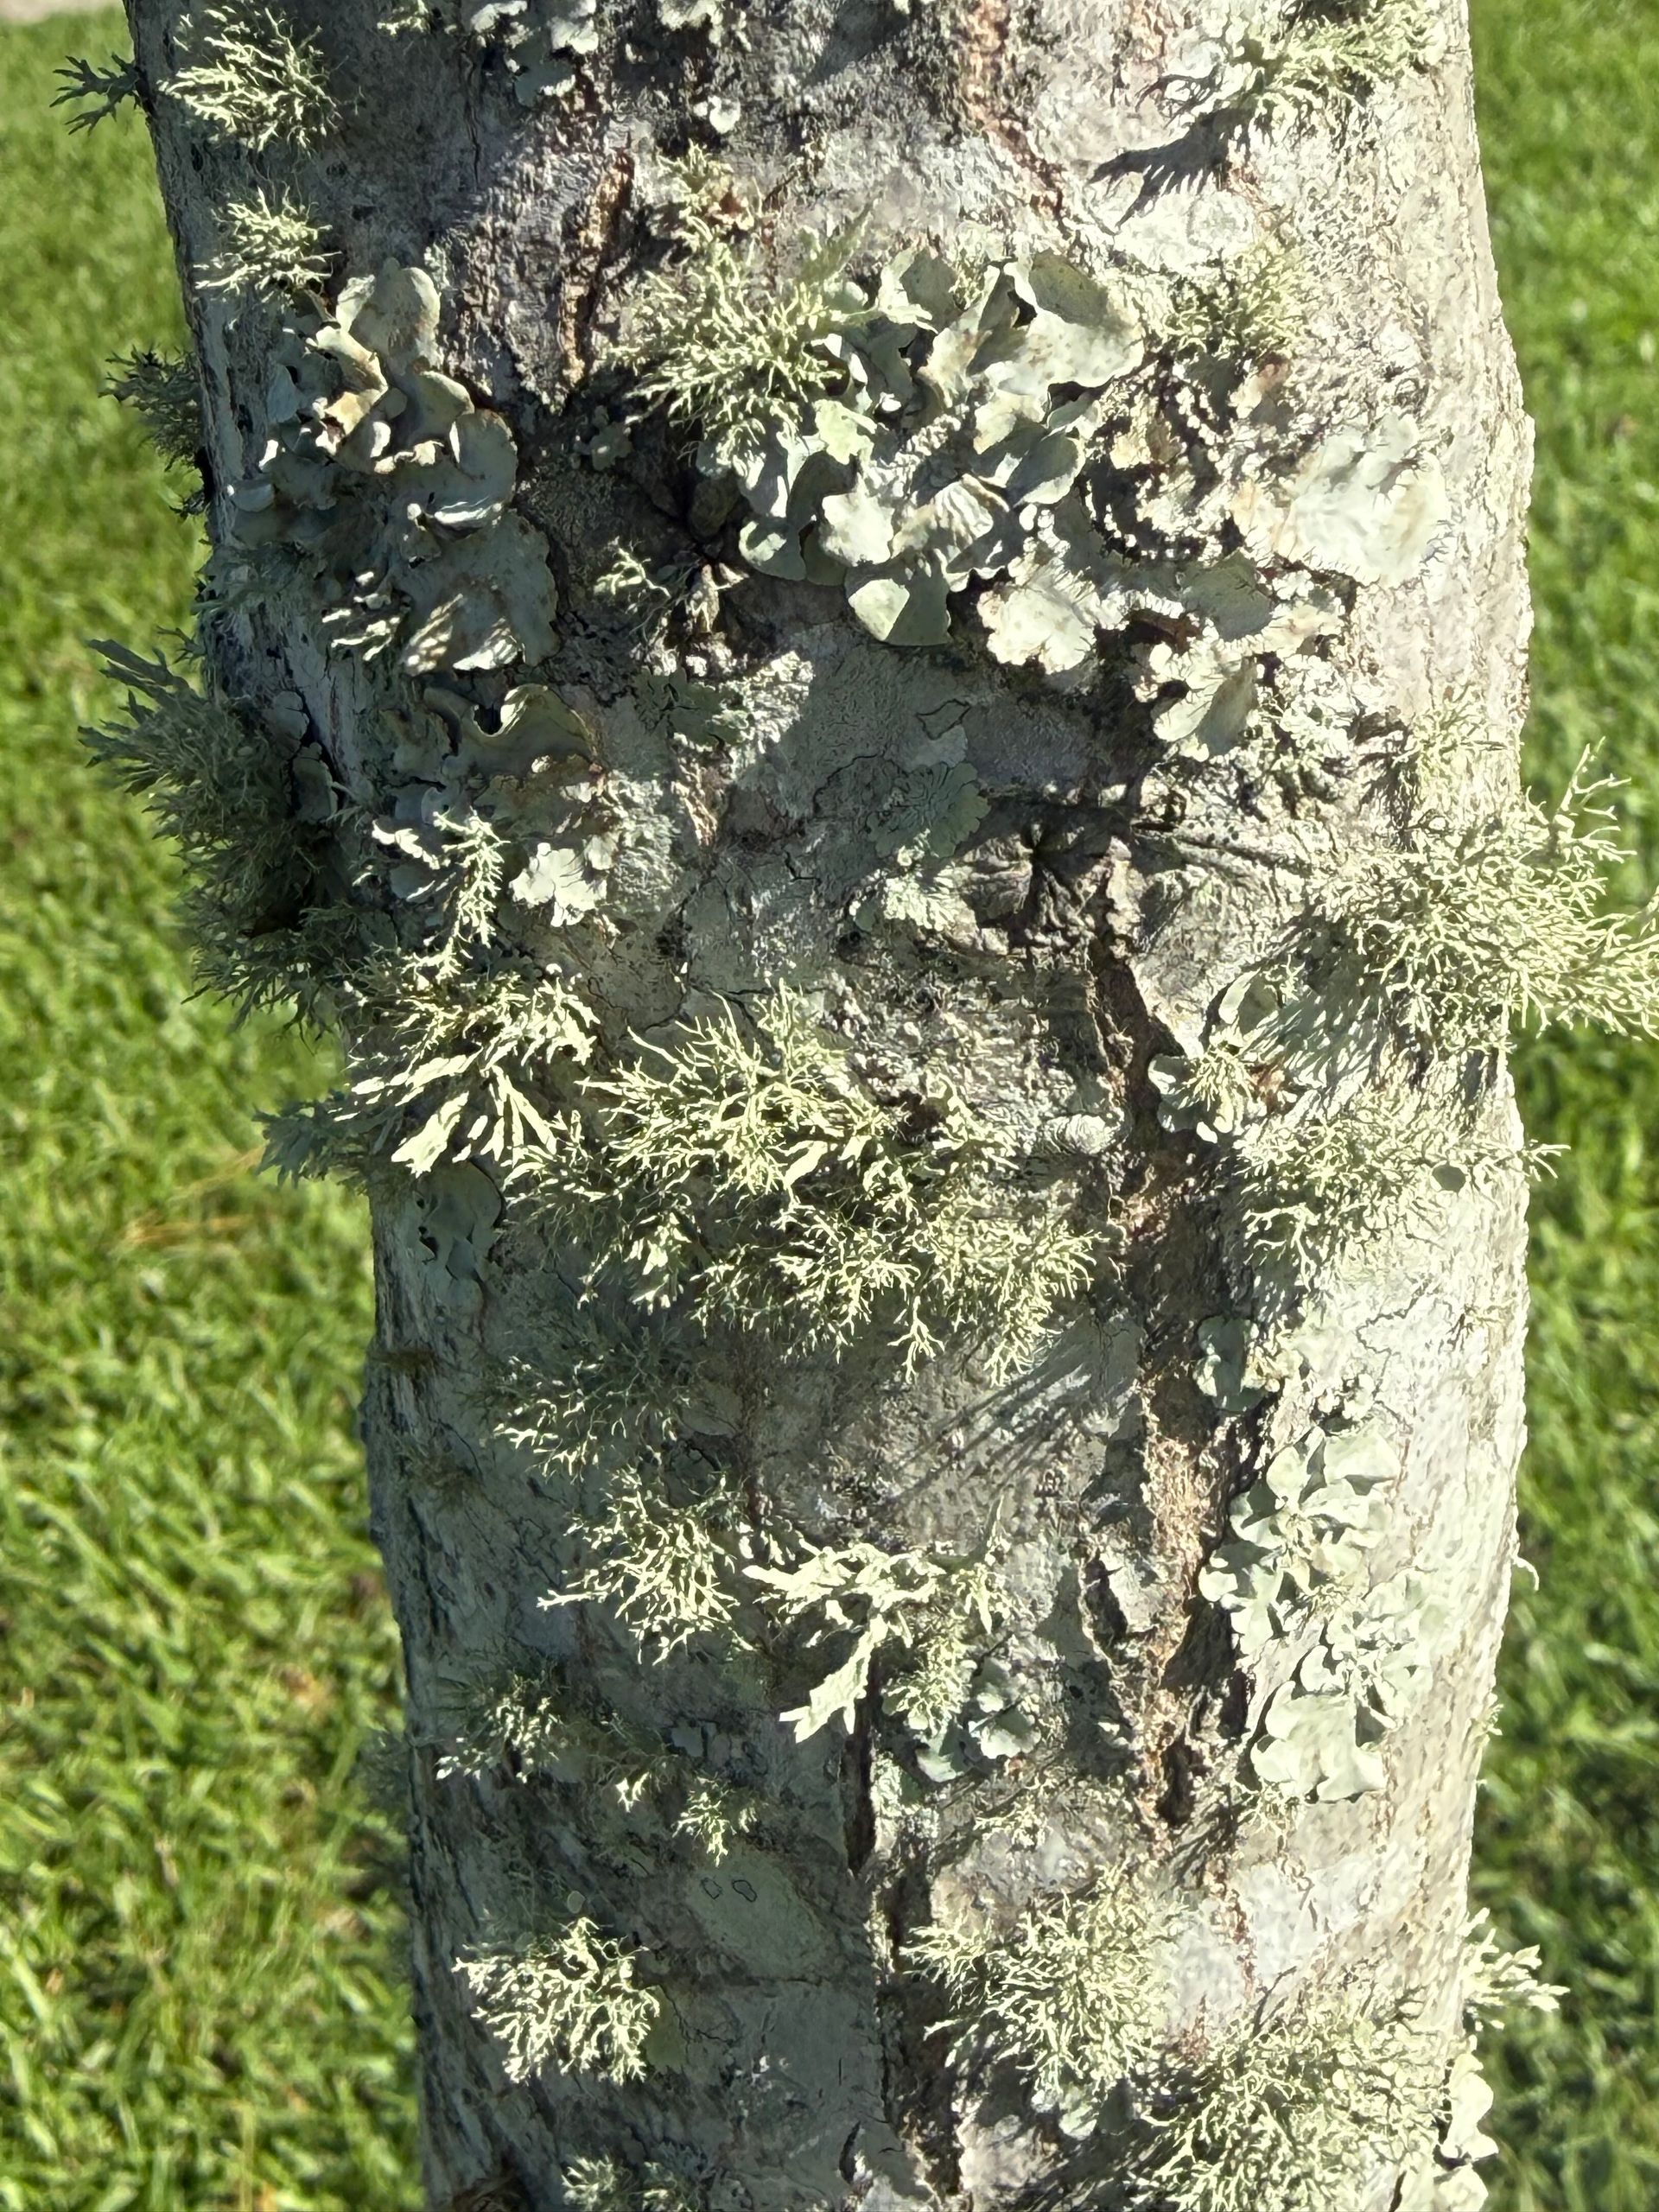
Learn what lichen on trees reveals about their health. Get expert advice on tree care from our garden consultant. Contact us today!
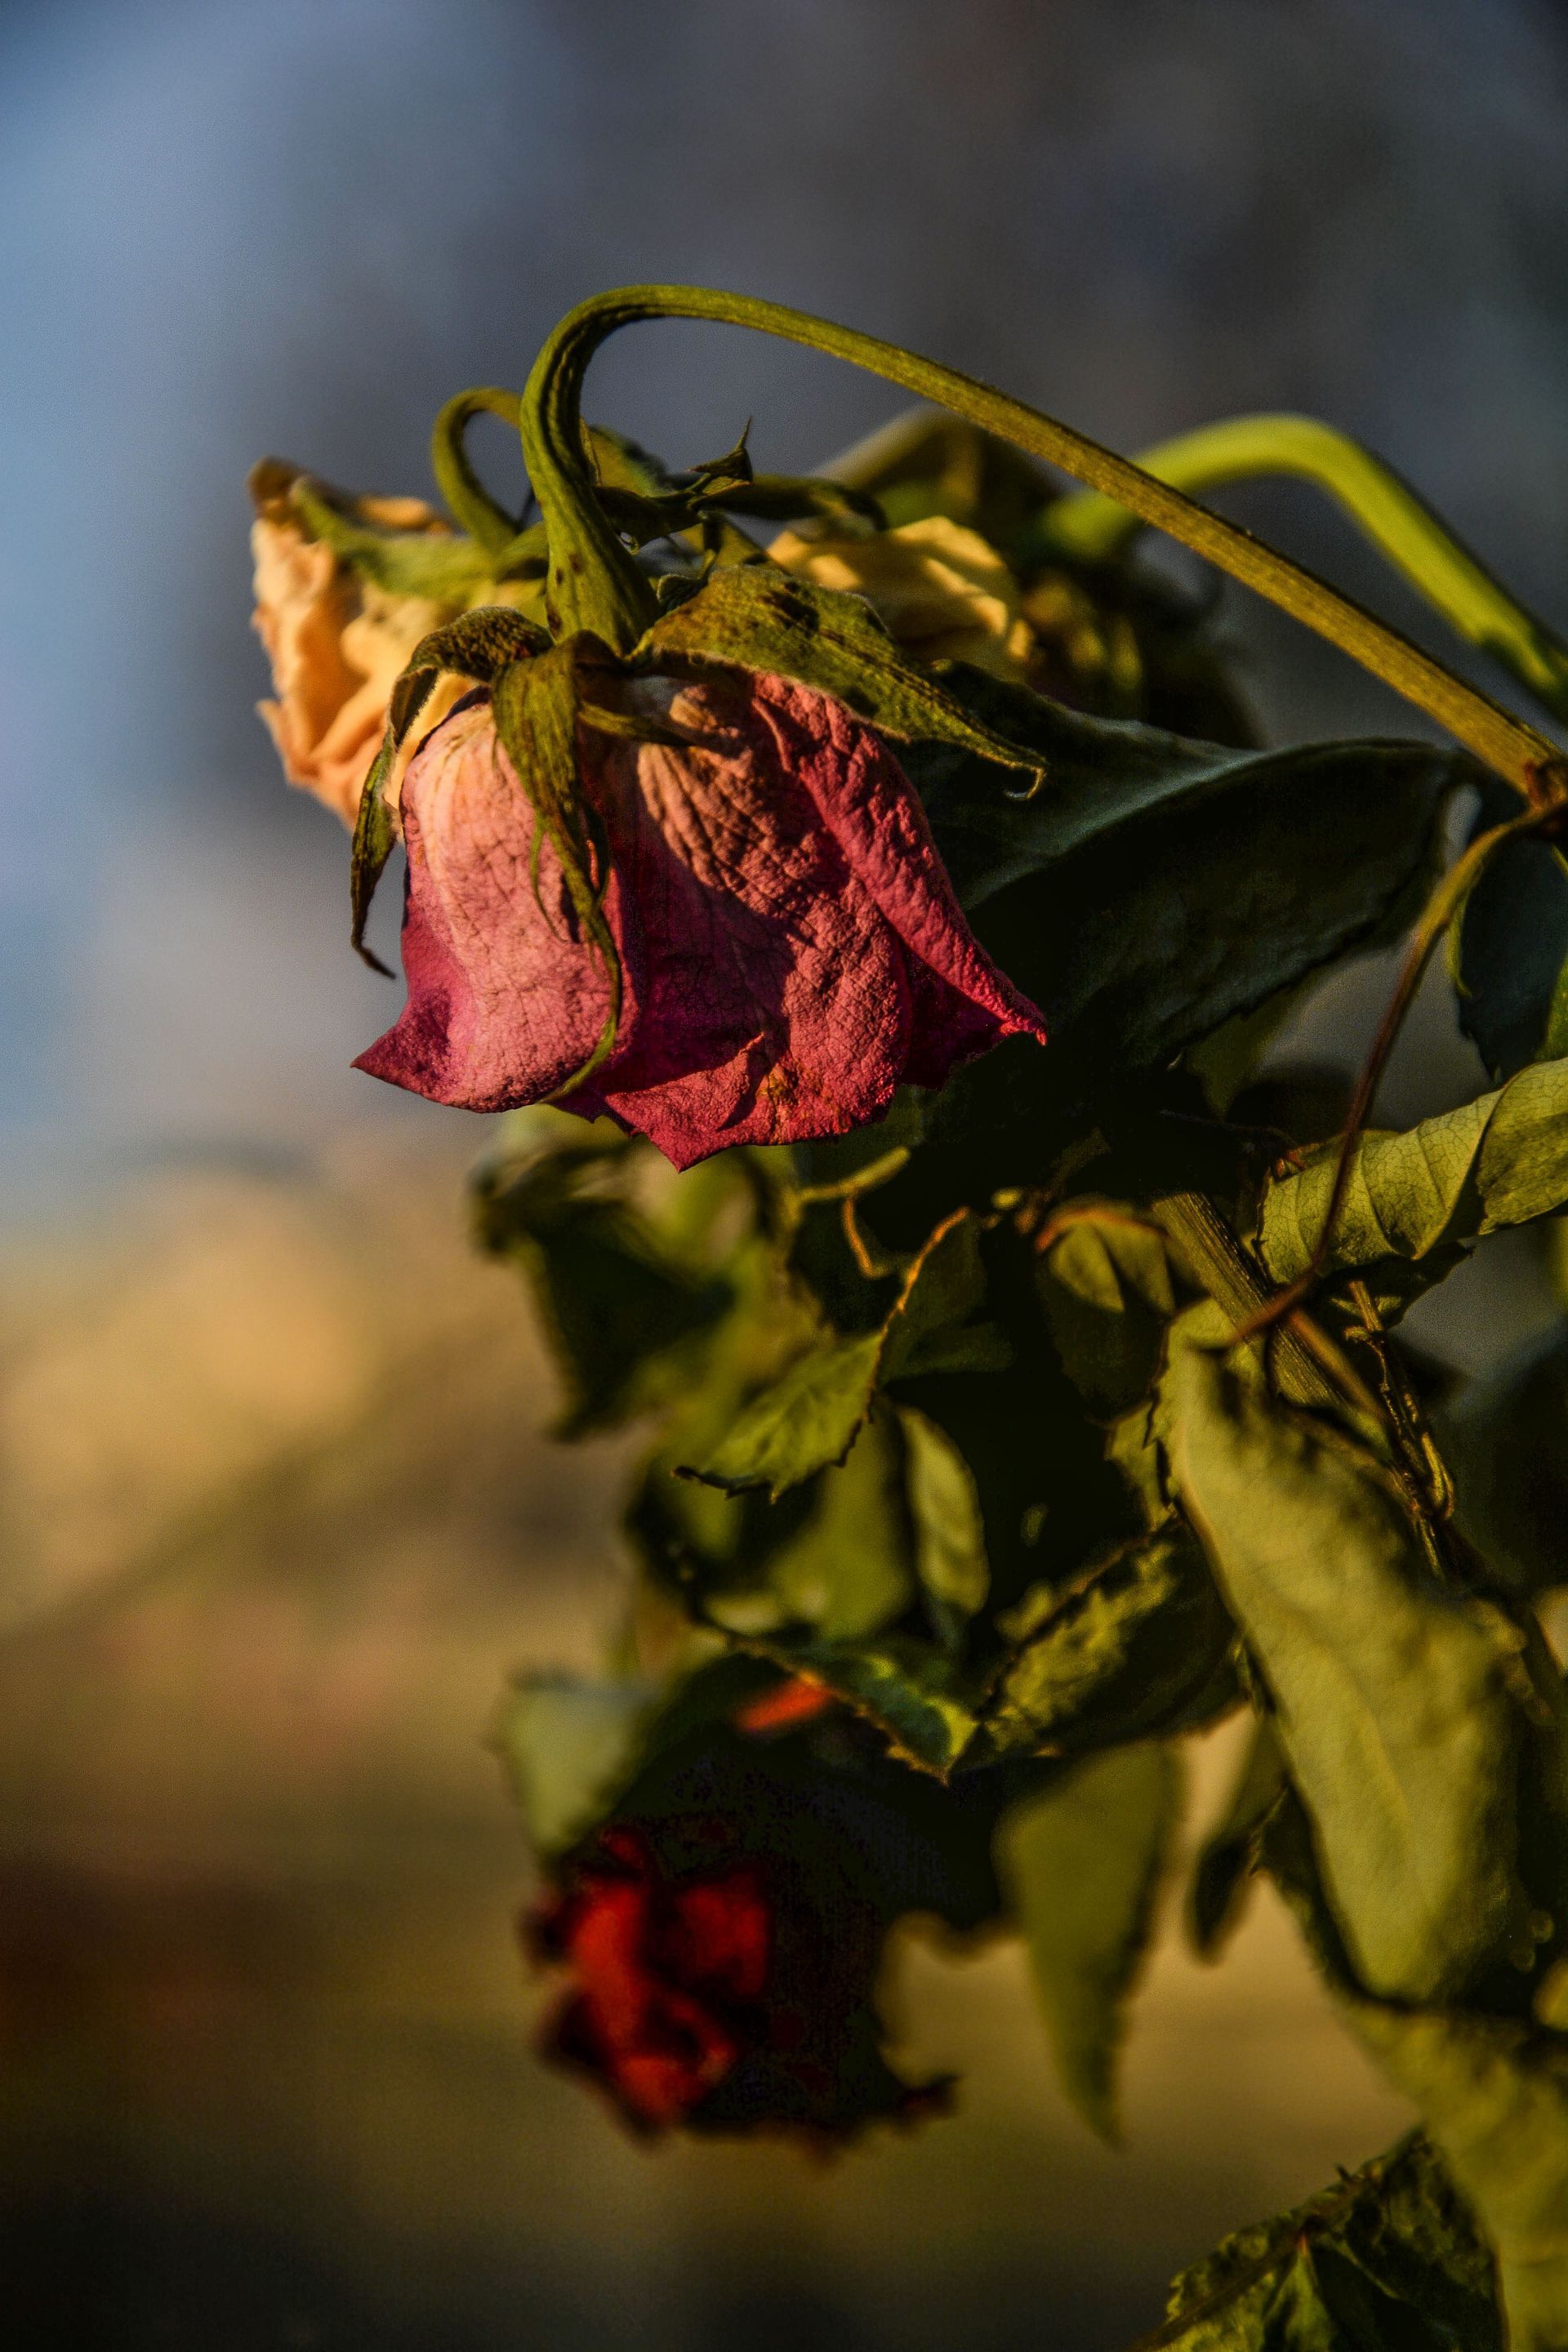
Understand Wilmington's drought effects on gardens & plants. Contact us for expert advice on plant care during dry spells.
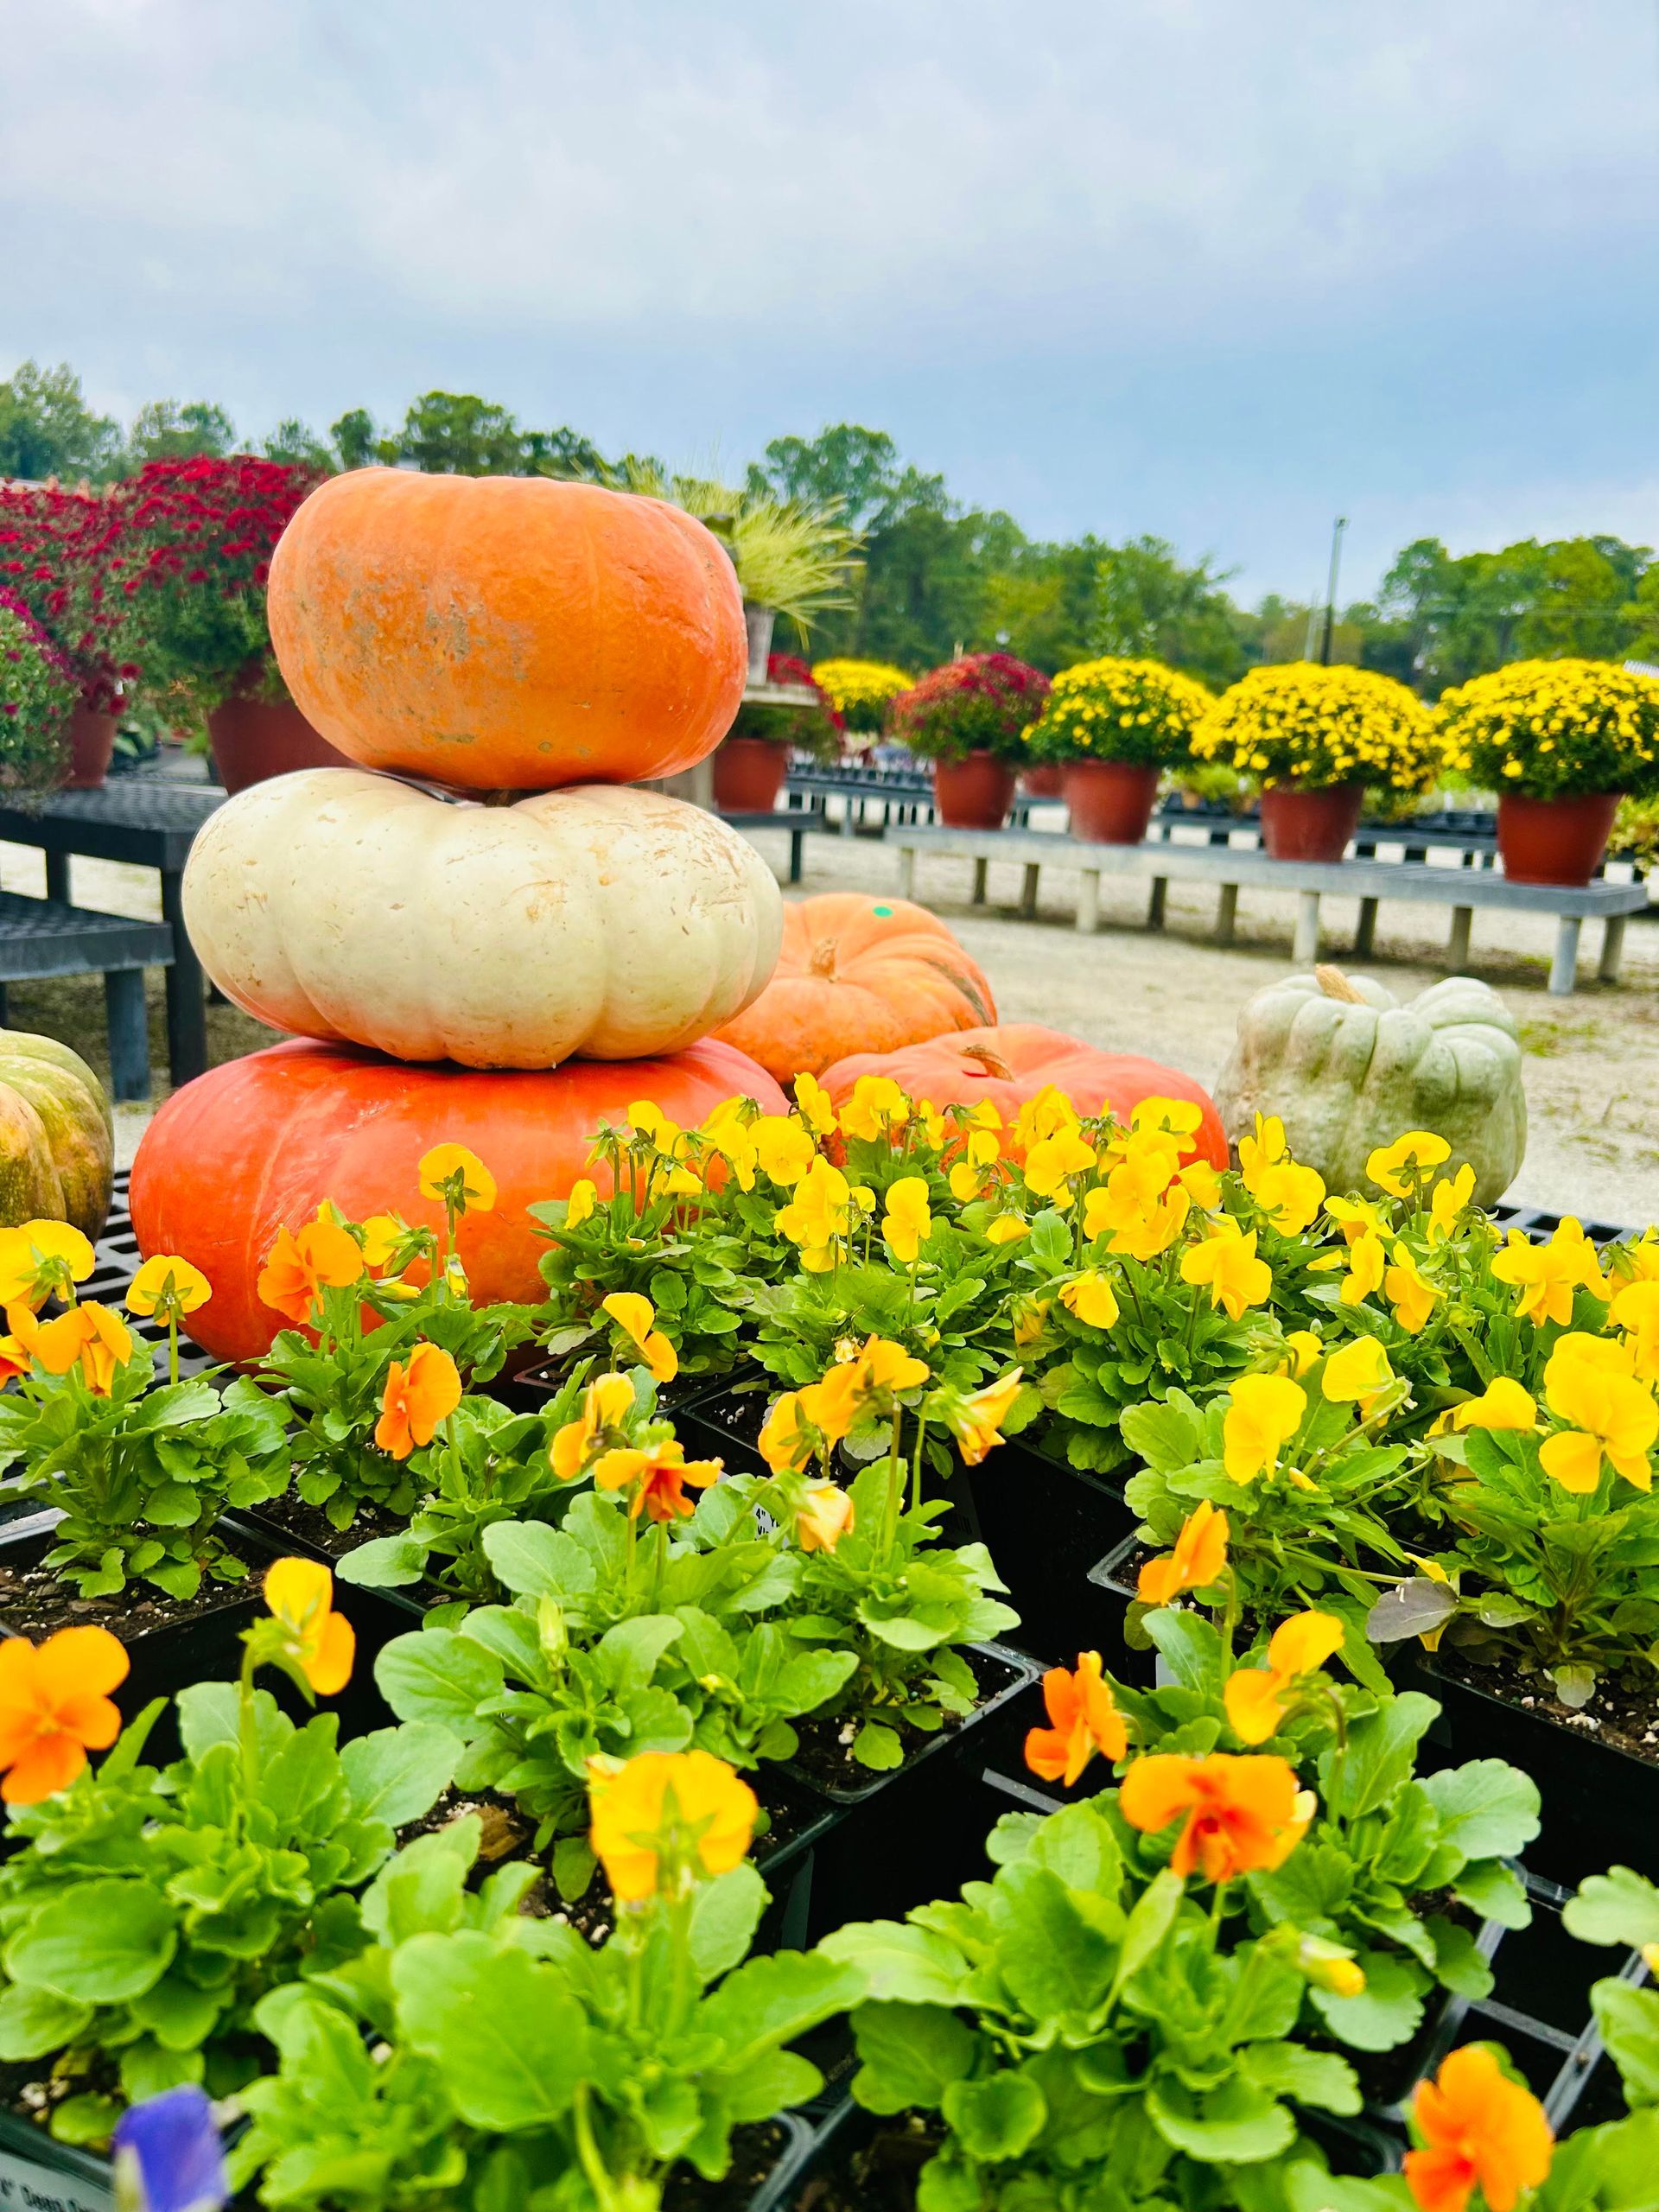
Wait until cooler temperatures before planting those cool season flowers
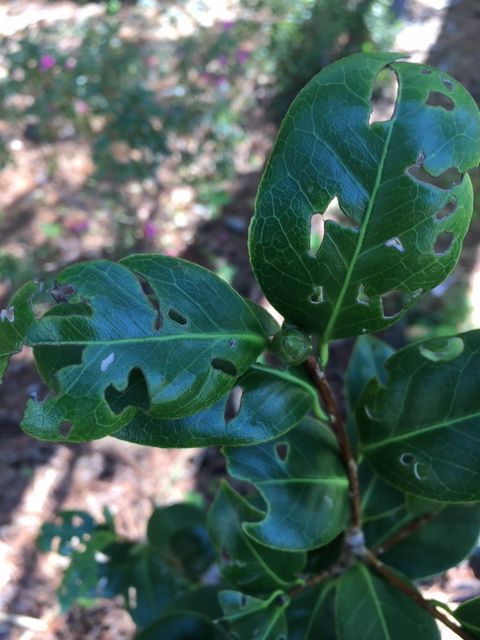
Camellia with c shaped holes in the leaves
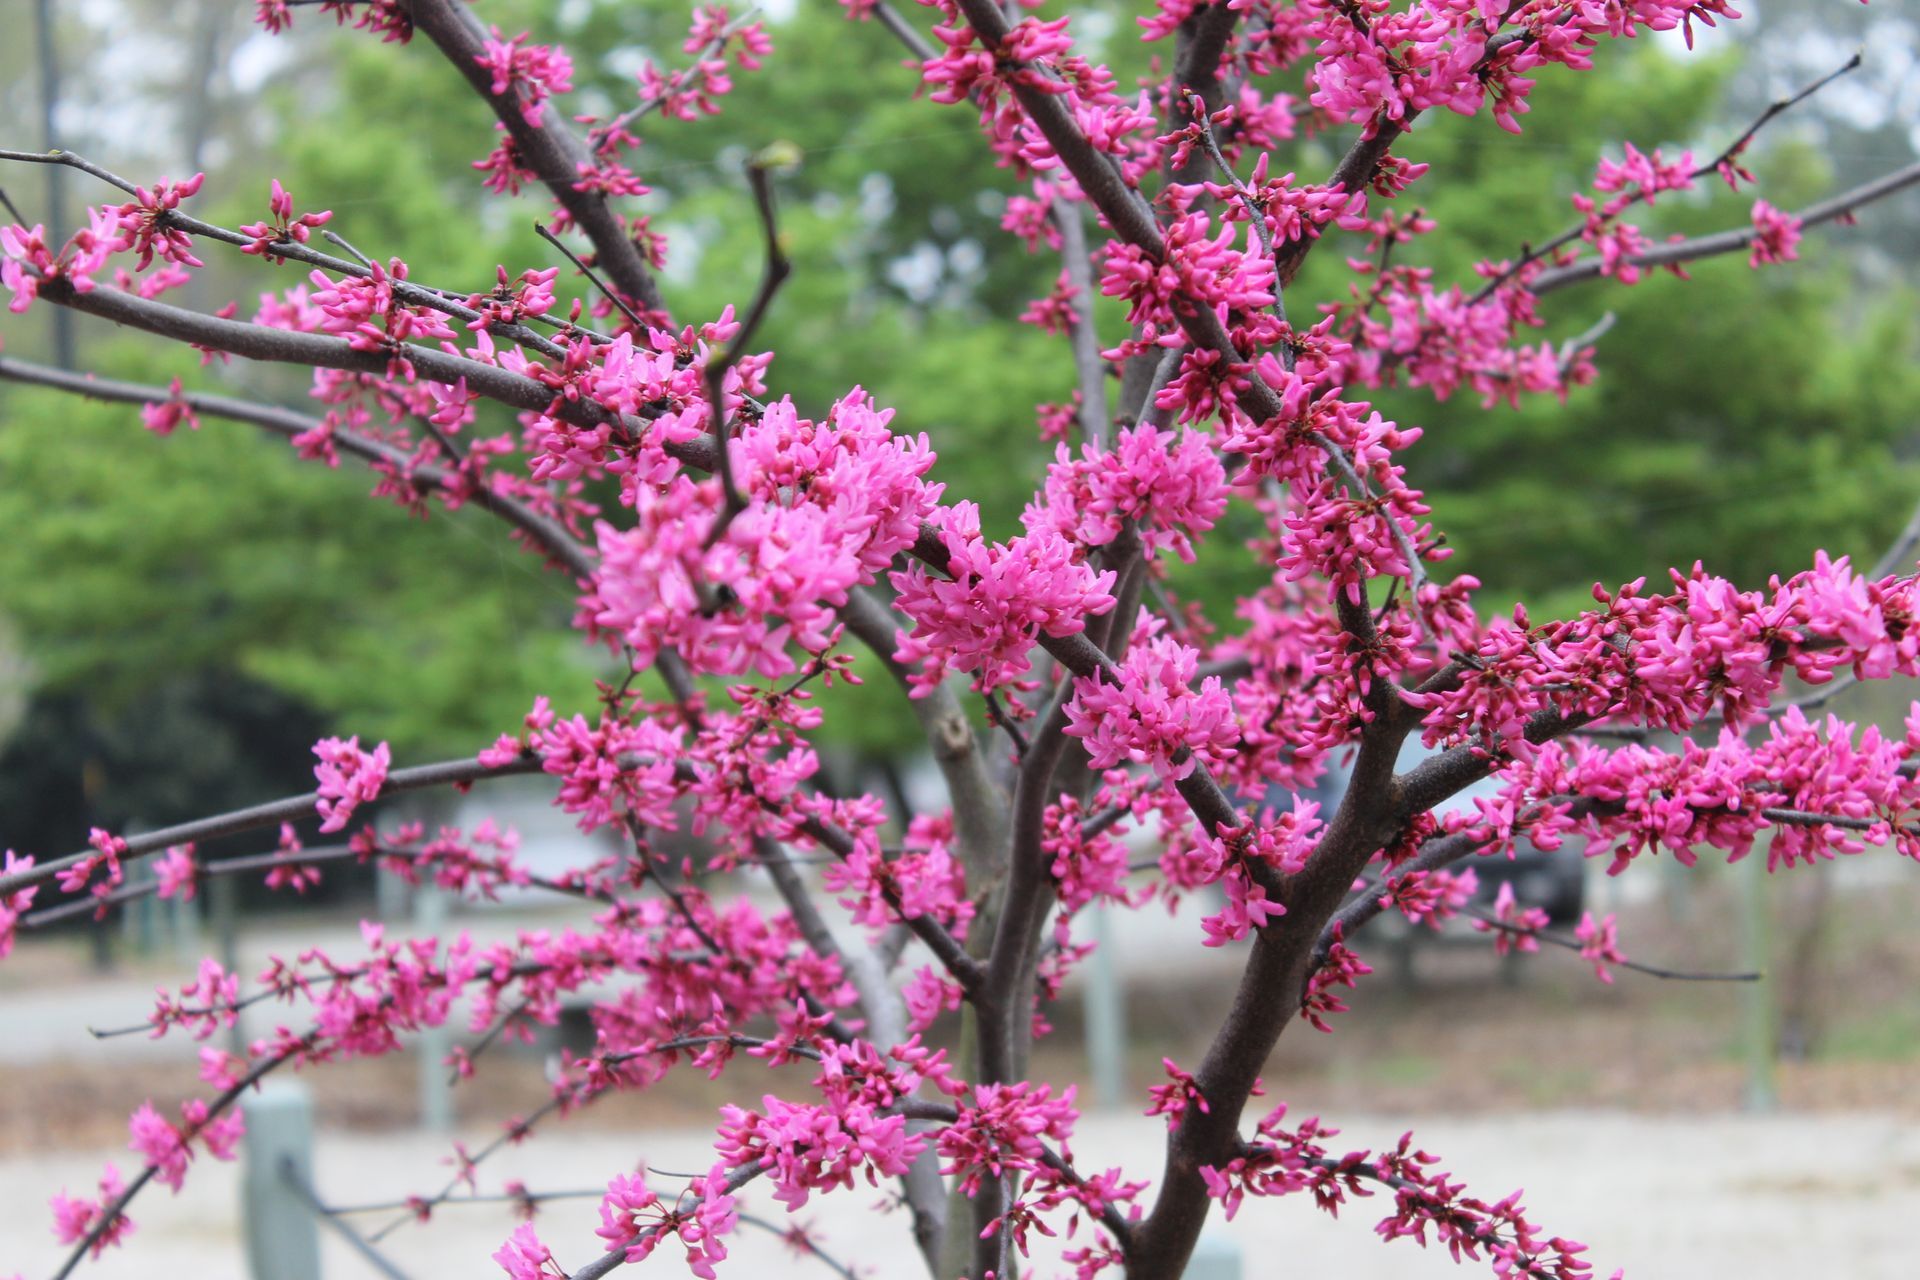
The body content of your post goes here. To edit this text, click on it and delete this default text and start typing your own or paste your own from a different source.
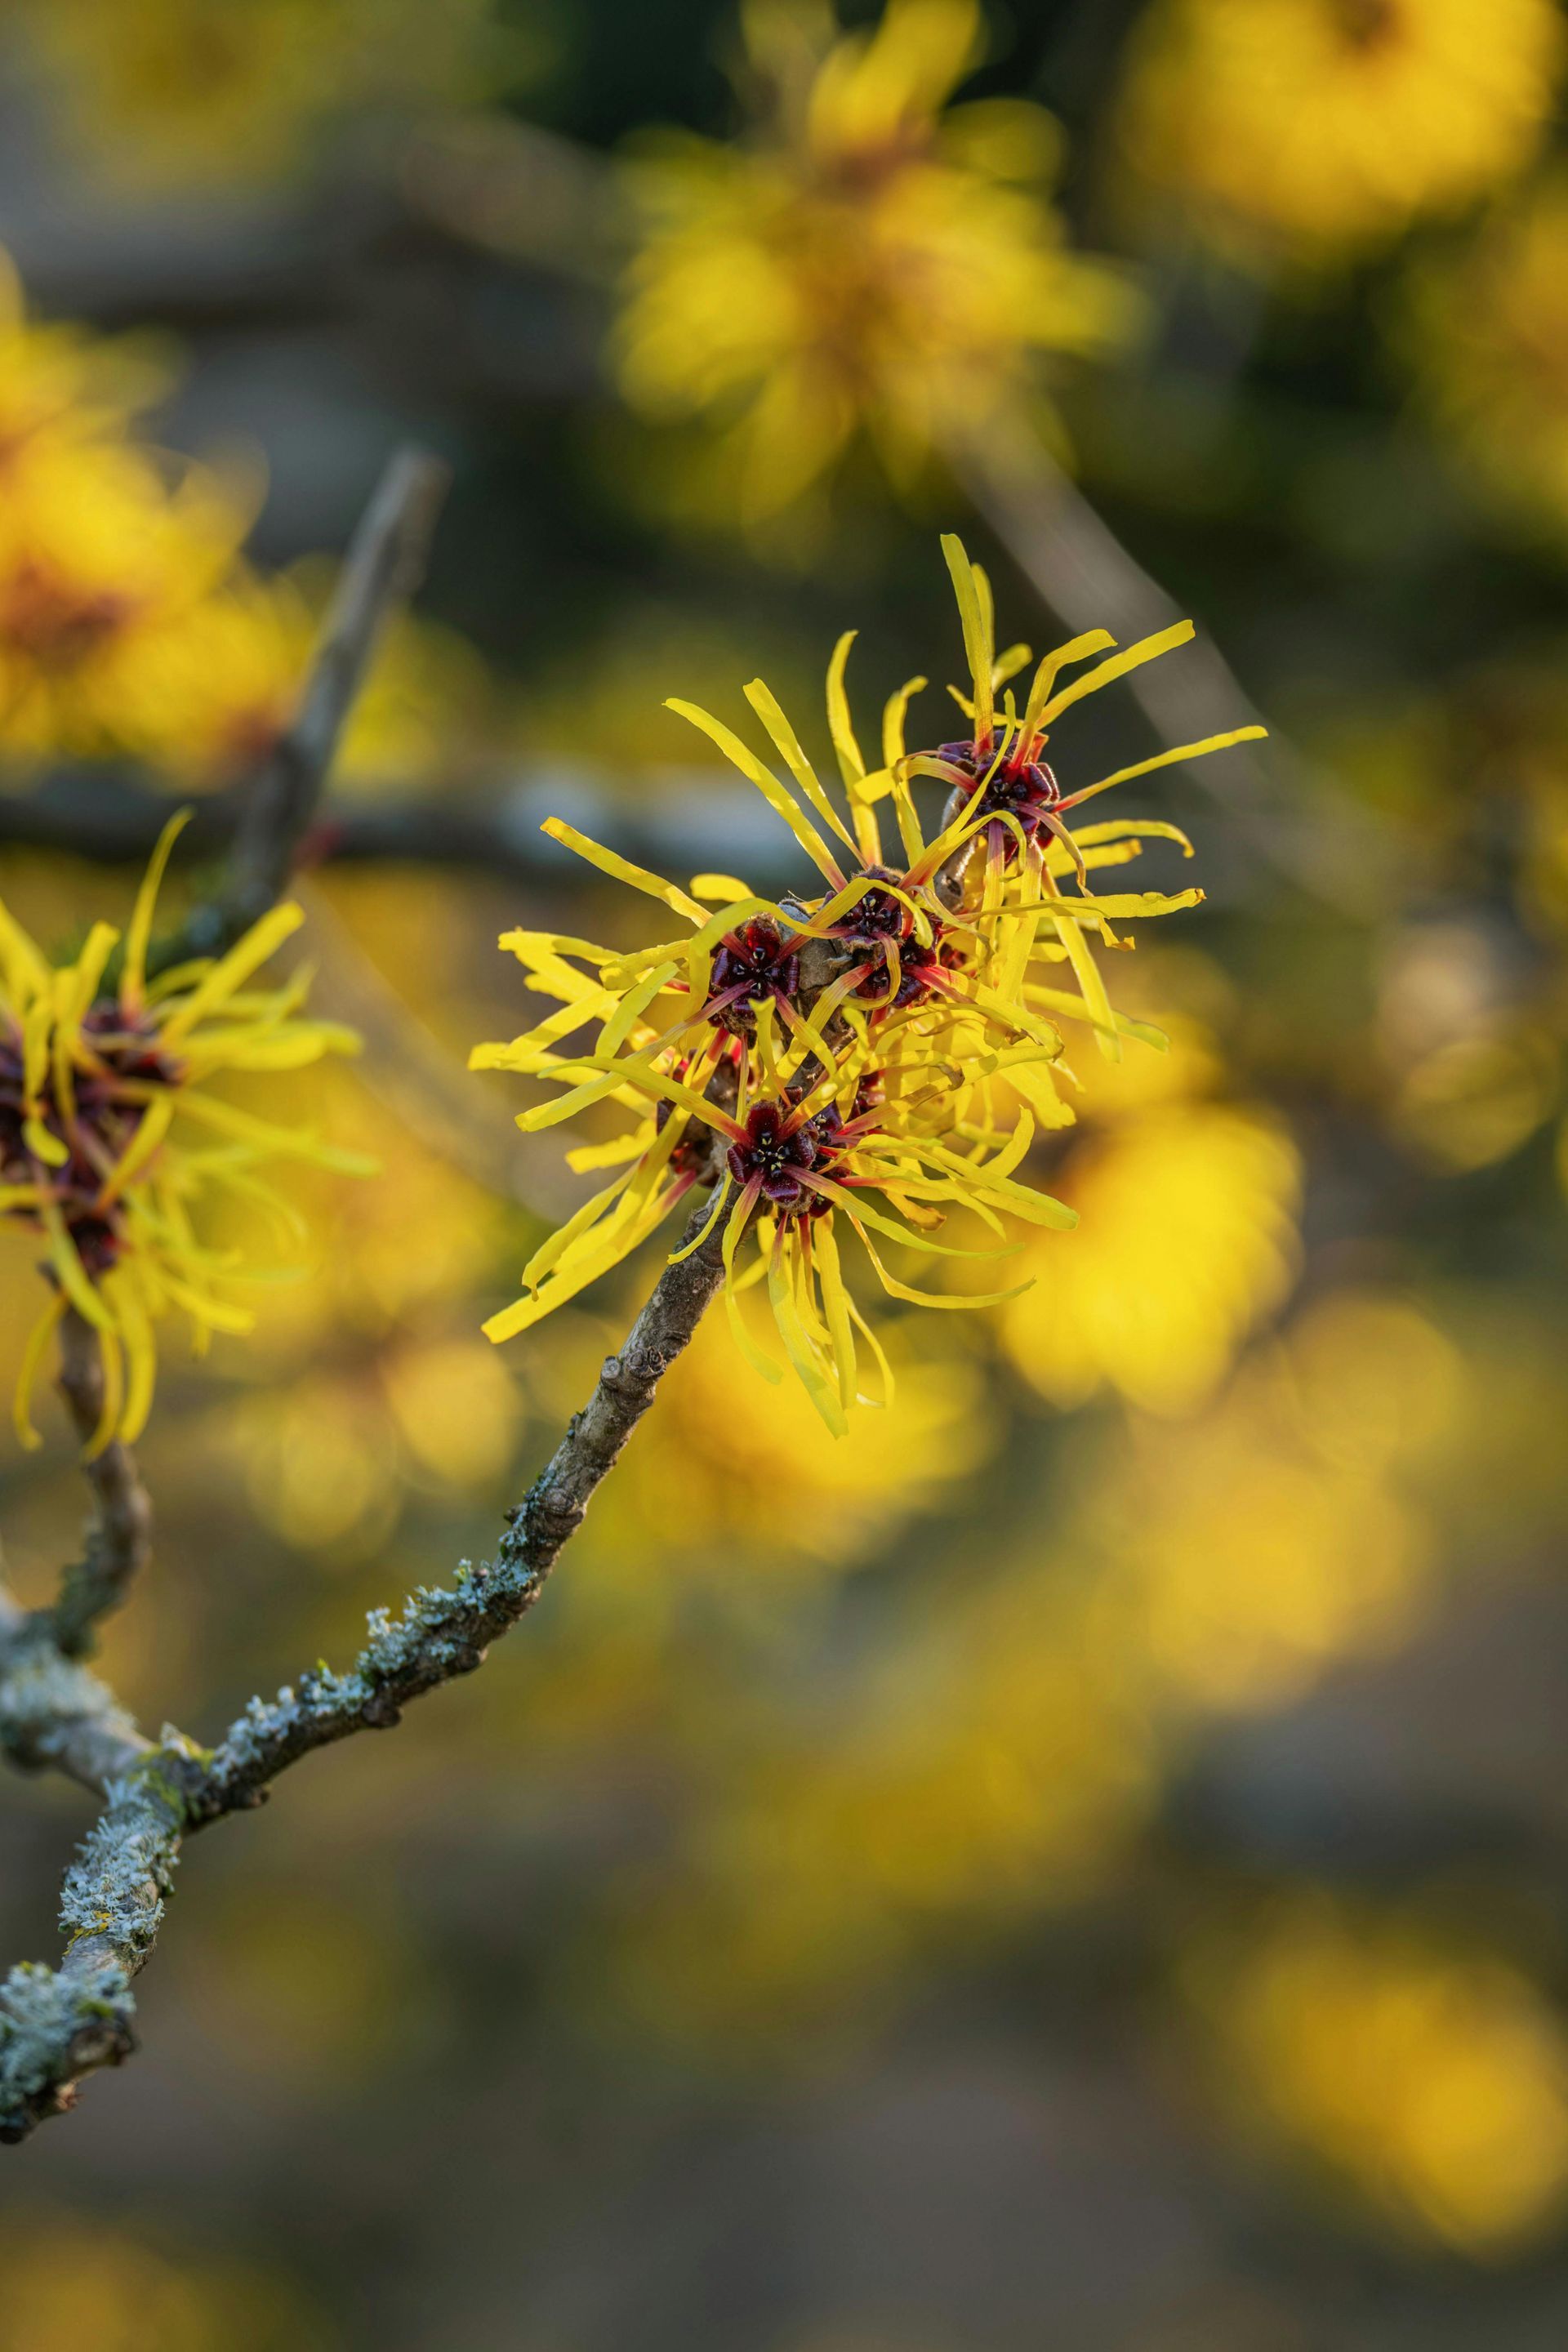
March is a month of transition in the Cape Fear region. While the afternoon sun feels warm, it is important to remember that we still have a significant potential for frost. Don't let a few warm days fool you into rushing your planting; jumping the gun can lead to losing tender plants to a late-season cold snap.
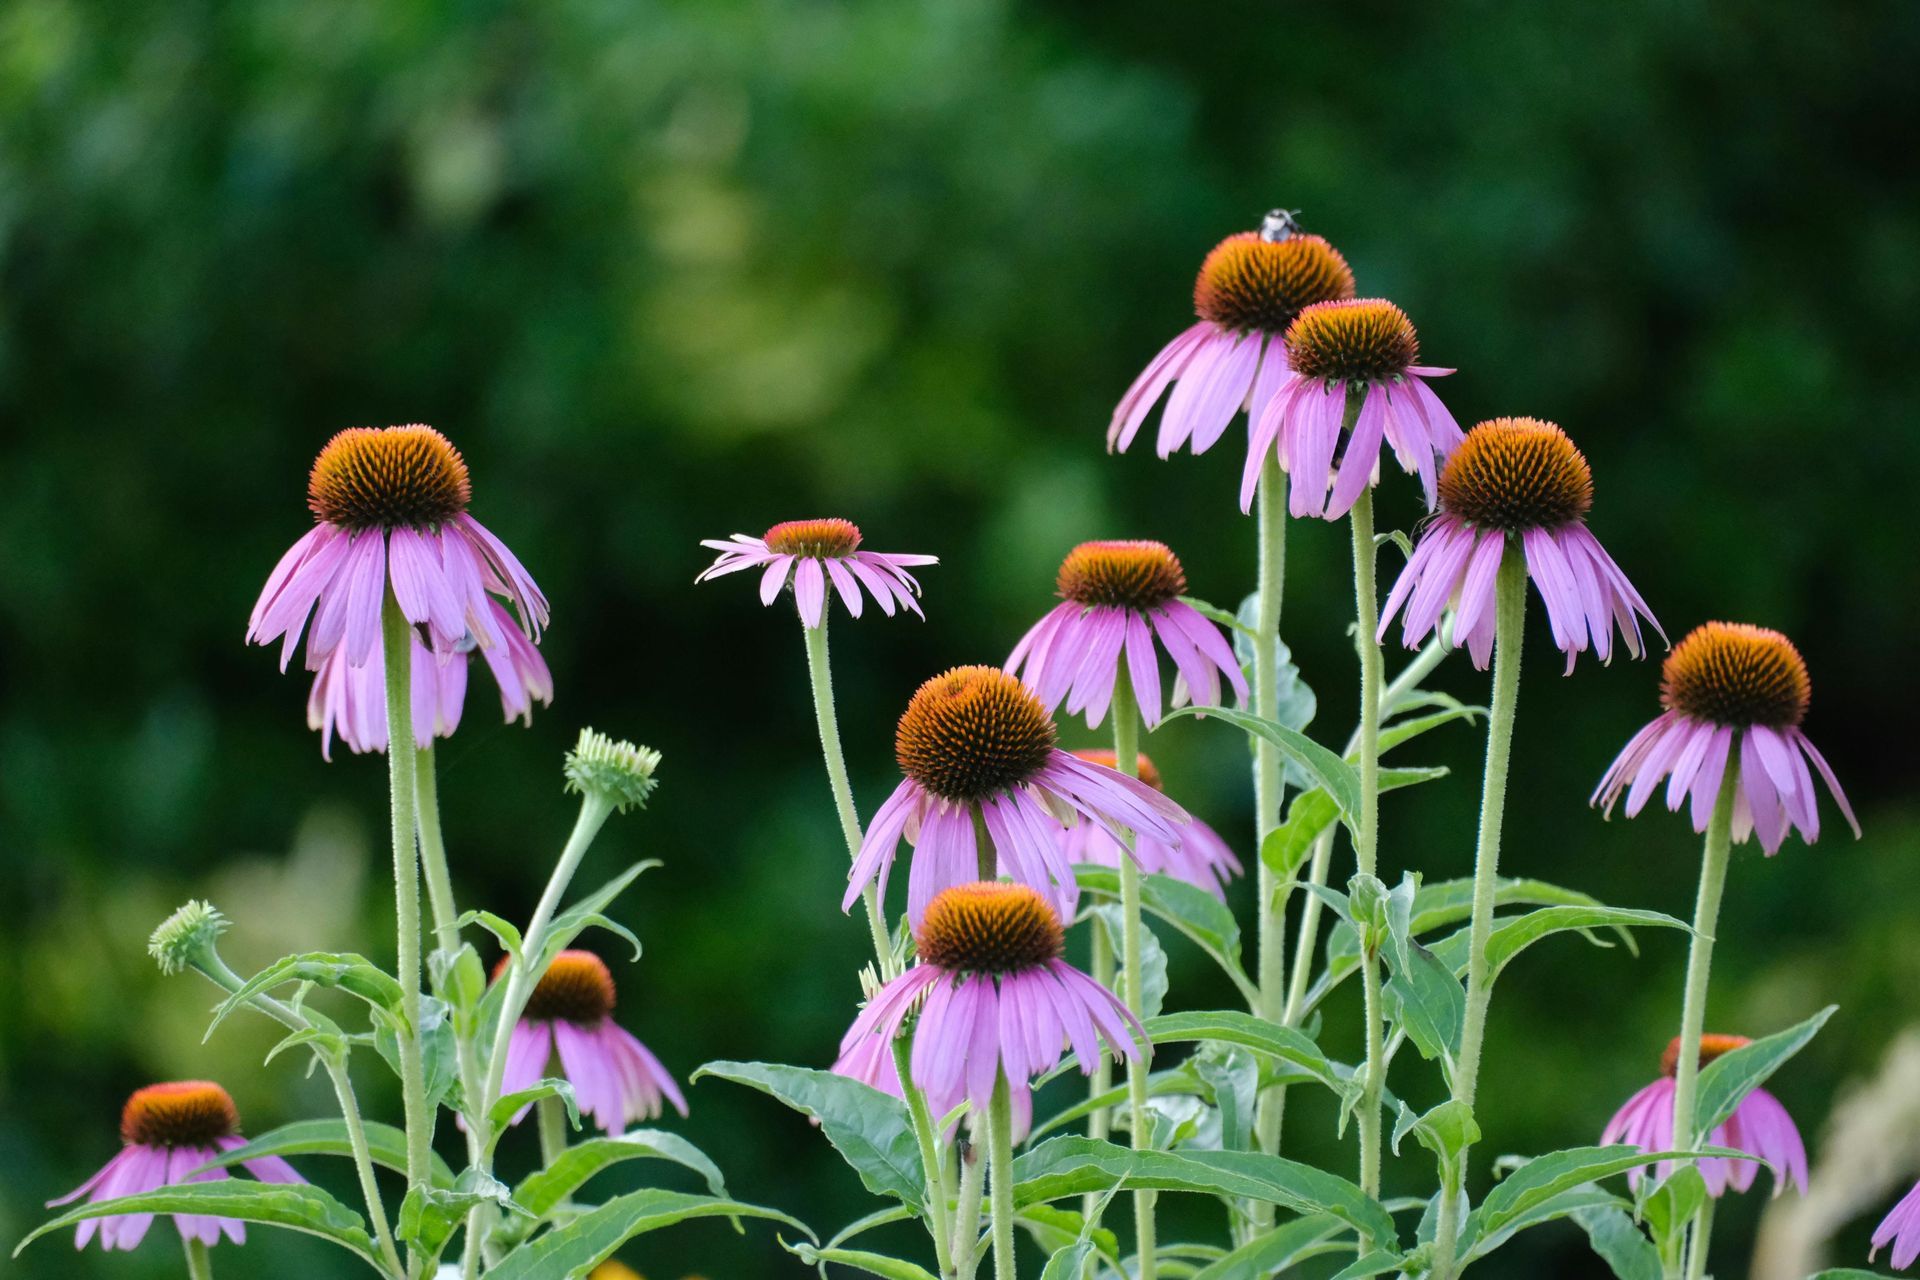
There’s a persistent misconception about native plant gardens—especially in Zone 8—that they can (and should) look like a traditional evergreen-heavy cottage garden all year long. The reality? That expectation often sets gardeners up for frustratio
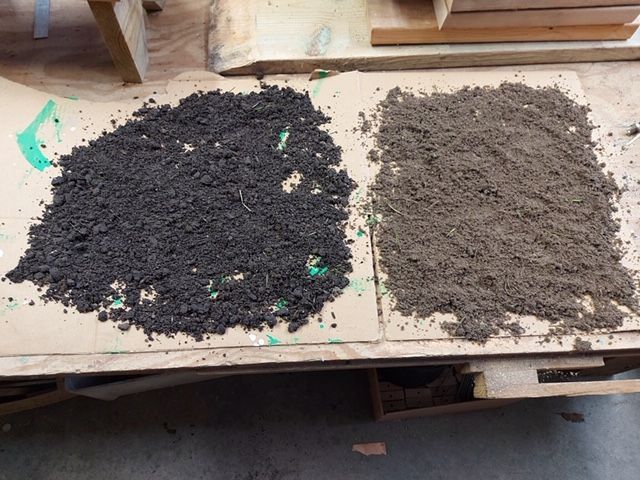
If your plants constantly struggle, your lawn looks tired, or water just sits on top of the ground after it rains, the real problem probably isn’t your plants—it’s your soil. In most residential and commercial landscapes, soil has been compacted by construction, stripped of organic matter, and cut off from the natural processes that keep it healthy. The good news: you don’t have to rip everything out and start over. With a few practical changes, you can bring your soil back to life and grow stronger, healthier plants. Why Soil Health Matters for Your Landscape Healthy soil is more than just “dirt.” It’s a living ecosystem made up of minerals, organic matter, fungi, bacteria, insects, and plant roots all working together. When this underground community is thriving, you get: Stronger, deeper root systems Better drought resistance Less erosion and runoff Fewer pest and disease problems Healthier trees, shrubs, gardens, and lawns When soil is compacted or lifeless, plants survive rather than thrive. Let’s change that. Feed the Soil With Compost, Not Just the Plants What compost does: Compost is decomposed organic matter—basically, concentrated life for your soil. It: Feeds beneficial microbes Improves soil structure (crumbly instead of hard and clumpy) Releases nutrients in a form plants can actually use Helps soil hold moisture while still draining well How to use it: Top-dress garden beds, trees, and shrubs with a thin layer of compost (½–1 inch) and gently rake it in or leave it under your mulch. Try liquid compost products (often called “compost tea”) for lawns or established beds when you don’t want to disturb the soil surface. Don’t stress about timing. Compost can be applied almost any time of year, and it’s very hard to overdo when you’re using quality material. Relieve Soil Compaction so Roots Can Breathe Compacted soil is one of the main reasons plants decline in urban and suburban landscapes. When soil is compressed, there is less space for air and water, both of which roots and soil organisms need to survive. What you can do: Avoid heavy traffic near trees and planting beds. Repeated foot traffic, vehicles, and equipment compact the soil. For lawns, use core aeration to pull small plugs out of the turf, then top-dress with compost so it can fall into the holes. Around trees and shrubs, consider professional decompaction. Advanced methods, such as air spading, use compressed air to loosen the soil without cutting roots. This creates space for air, water, and compost to move back into the root zone. Benefits you’ll notice : Faster recovery of stressed trees and plants Less standing water and erosion Rainwater soaking in instead of running off hard surfaces Protect Bare Soil With Wood Chip Mulch Bare soil is a red flag. It heats up, erodes, dries out quickly, and loses organic matter. Why arborist wood chips are ideal: They protect the soil surface from sun, wind, and heavy rain. They slowly break down, feeding soil organisms over time. They allow air and water to move through, unlike plastic or fabric “weed barriers.” They recycle local organic material right back into your landscape. How to apply mulch correctly: Spread 2–3 inches of wood chips around trees, shrubs, and in planting beds. Keep mulch 3–6 inches away from tree trunks and plant stems to avoid rot and pest issues. Extend mulch beds as far as practical; more covered soil means less compaction and better moisture control. Leave the Leaves Where You Can Many landscapes treat fallen leaves as waste. In nature, they’re one of the most important resources for soil health. Why leaves are valuable: They act as free mulch, protecting soil and helping retain moisture. They break down into organic matter, feeding soil life. They provide crucial habitat and overwintering sites for beneficial insects and other small wildlife. Rake only where necessary for safety or access, paths, sidewalks, entryways, and tight lawn areas. Leave leaves under trees, shrubs, and in naturalized areas as a mulch layer. If the layer is too thick on lawn areas, mulch them with a mower so they break down faster instead of smothering the grass. This simple habit saves time, reduces yard waste, and keeps organic matter on your property where it can do the most good. Rethink Synthetic Fertilizers Many common fertilizers are salt-based and designed to give a quick shot of nutrients. While they can green things up fast, they often harm the very soil biology that plants depend on. Potential downsides of heavy synthetic fertilizer use: Increased soil salinity (too much “salt”) Disrupted beneficial microbial communities Shallow, weak root systems that depend on constant reapplication A better long-term strategy Build fertility with compost, wood chip mulch, and leaf litter instead of relying on chemical boosts. If you do use fertilizer, choose slow-release, soil-friendly products and follow label rates carefully. Healthy soil reduces the need for chemical inputs over time, saving you money and making your landscape more resilient. Plant More (Especially Native) Plants Plants and soil life support each other. Roots hold soil in place, create channels for water, and leak small amounts of sugars and compounds that feed beneficial microbes. How additional plants help your soil: Living roots stabilize soil and reduce erosion. Dense plantings shade the soil, helping it stay cool and moist. A variety of species supports a wider range of insects and microbes. Tips for planting smarter Use native plants wherever possible. They’re adapted to local conditions and support local wildlife and pollinators. Replace thin, struggling turf, especially in shade, with groundcovers, shrubs, or perennials. Grass rarely thrives under established trees. Aim for at least ~70% plant coverage in landscape beds to minimize bare ground and compaction. Over time, areas with diverse, well-chosen plants tend to build better soil naturally. Reduce “Hidden” Chemical and Environmental Stressors Even if you’re adding compost and mulching, some common yard practices can quietly undermine soil health. Ready to Build Healthier Soil? Improving soil doesn’t have to be complicated. Start with a few simple steps—add compost, protect bare soil, plant more, and reduce unnecessary chemicals—and you’ll be amazed at how your landscape responds.
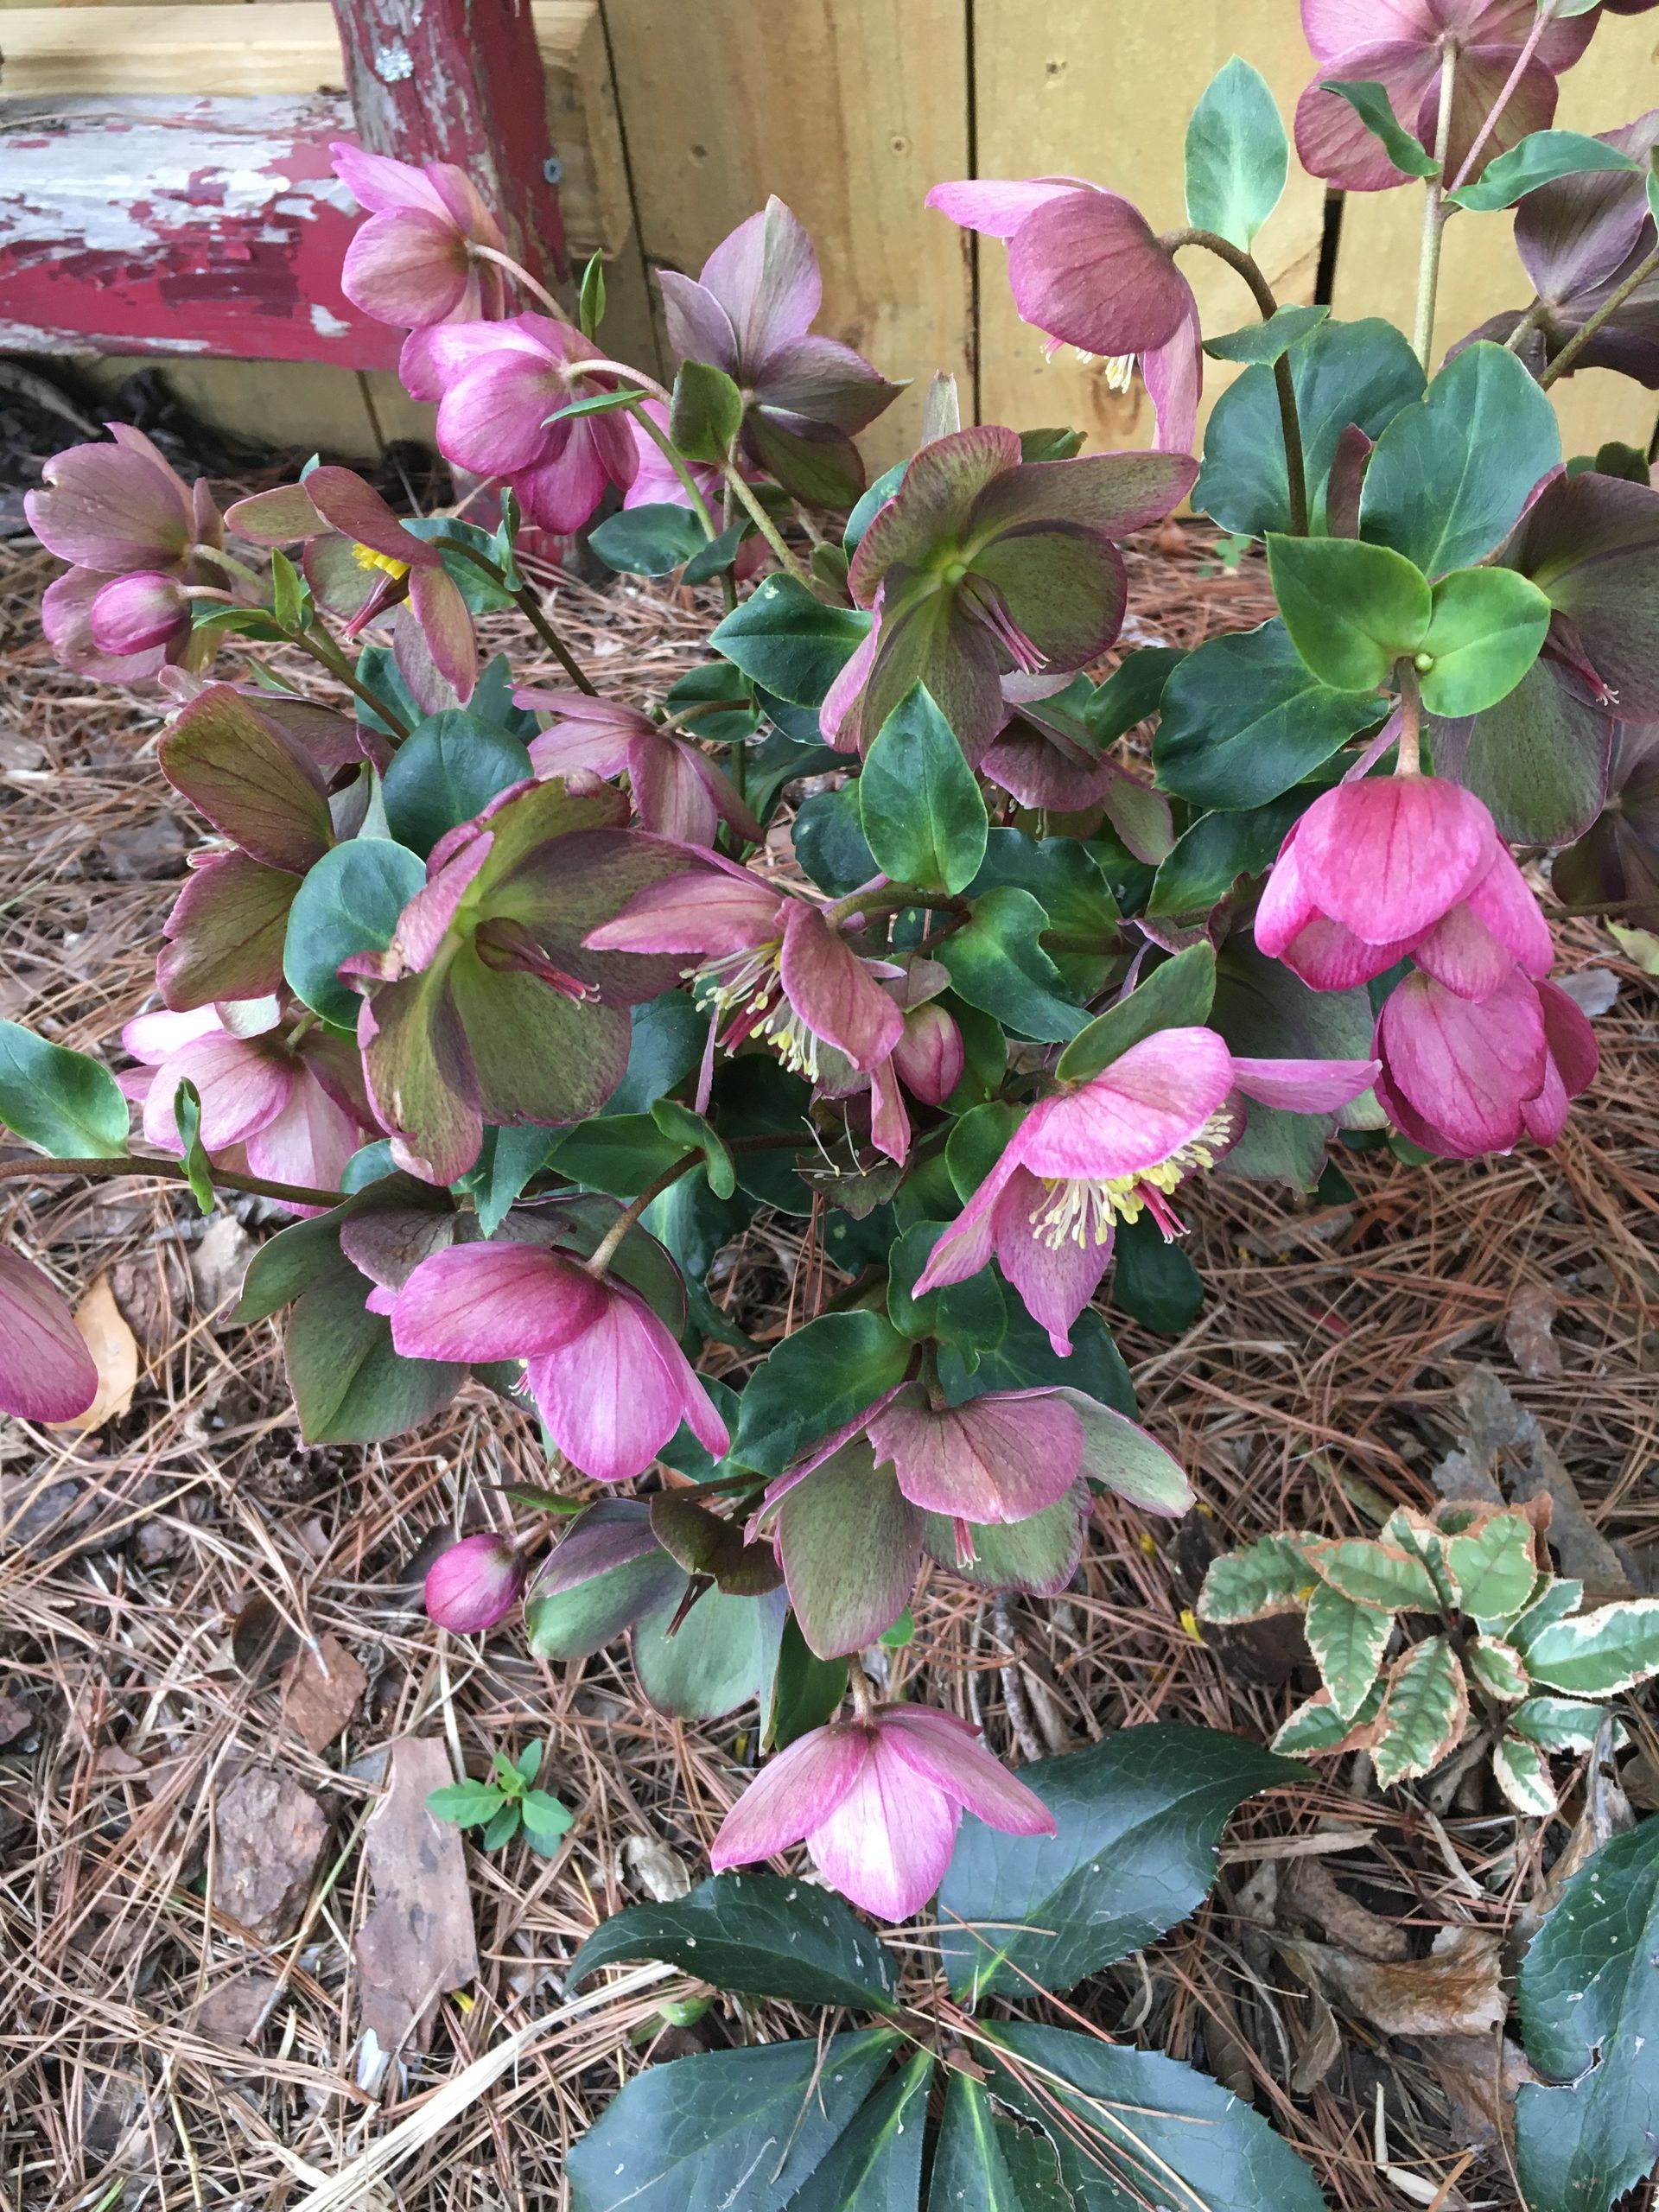
As the rest of the garden sleeps under the gray skies of a coastal North Carolina winter, one plant stands out as a true resilient beauty: the Hellebore. Often called the Lenten Rose or Christmas Rose, these perennials are the unsung heroes of the Wilmington landscape. If you are looking to add sophisticated color to your garden when almost nothing else is brave enough to bloom, hellebores are your answer. A Symphony of Seasonal Blooms One of the most fascinating aspects of hellebores is the sheer variety of species and hybrids available, each with its own internal clock. By selecting different varieties, you can effectively have blooms in your garden from late December through early spring. Some varieties, like Helleborus niger, often start their show around the holidays, while the more common Helleborus orientalis hybrids typically peak in February and March. Because the "petals" are actually sepals (a protective part of the flower), the blooms are incredibly long-lasting, often staying attractive for several months as they slowly fade to muted greens and dusty pinks. Performance in the Southeast In the unique climate of Wilmington and the broader Southeast, hellebores perform exceptionally well if their basic needs are met. While many gardening books label them as "shade plants," our coastal light requires a bit more nuance. In the Southeast, they thrive in "bright shade" or dappled sunlight. Providing lots of light—especially during the winter months when deciduous trees have dropped their leaves—is key to a prolific bloom cycle. However, they do appreciate protection from the harsh, direct afternoon sun of our humid summers. Soil and Establishment: Patience is a Virtue The secret to a happy hellebore lies beneath the surface. These plants are heavy feeders and crave high-quality organic soil. Before planting, it is highly recommended to amend your garden bed with plenty of compost or well-rotted leaf mold. They prefer soil that is moist but well-drained; they do not like "wet feet," which can lead to crown rot in our humid climate. It is important to manage your expectations during the first year. Hellebores are notorious for taking their time to get established. You might not see much top growth or many flowers in the first season as the plant focuses its energy on developing a deep, sturdy root system. Be patient—once they settle in, they are incredibly long-lived and will reward you for decades. The Golden Rule: Do Not Move Them If there is one thing a hellebore dislikes more than soggy soil, it is being relocated. These plants have deep, brittle root systems that do not take kindly to being disturbed. When choosing a spot for your hellebore in your Wilmington garden, think of it as a permanent residence. Moving a mature hellebore often results in a "sulk" that can last for a year or two, or in some cases, the plant may fail to recover entirely. Pick your spot wisely, prepare the soil beautifully, and then let them be. Why We Love Them Beyond their winter beauty, hellebores are deer-resistant and relatively pest-free, making them a low-maintenance choice for coastal gardeners. Their evergreen foliage provides a lush, leathery texture to the garden floor even when the flowers are finished. Whether you are a seasoned gardener or just starting to explore what works in our Zone 8b climate, the hellebore is a worthy investment. Give them the organic richness they crave and the time they need to anchor themselves, and they will become the crown jewels of your winter garden for years to come.